

How To Clean Mossberg 500 Magazine Tube
Whether your shotgun is used to launch buckshot or beanbags, you lot need to keep it clean and ready for service
There was a time when the shotgun was the main long gun for police, just in many departments, it has been relegated to a secondary, or fifty-fifty less-lethal weapon, as it has been replaced by the patrol rifle or carbine.
We've previously discussed how new ammunition developments have fabricated the shotgun more valuable than ever as a lethal tool, but regardless of whether yours is reserved for launching buckshot or beanbags, you lot need to keep it clean and ready for service.
While semiautomatic shotguns similar the Benelli Thou-series guns, the Beretta 1301, or FN SLP have become more popular in recent years, the traditional choice for police use has e'er been a pump-activity gun. Today, we'll look at how to disassemble one of the most popular guns in this grade, the Mossberg 500/590-serial.
steps to disassemble the Mossberg 500/590 series shotgun
1. The first pace in disassembly is to ensure your shotgun is unloaded. To accomplish this, point and go on the barrel in a safe direction while accomplishing the following:
a. Place the safe to the "ON" (aft) position.
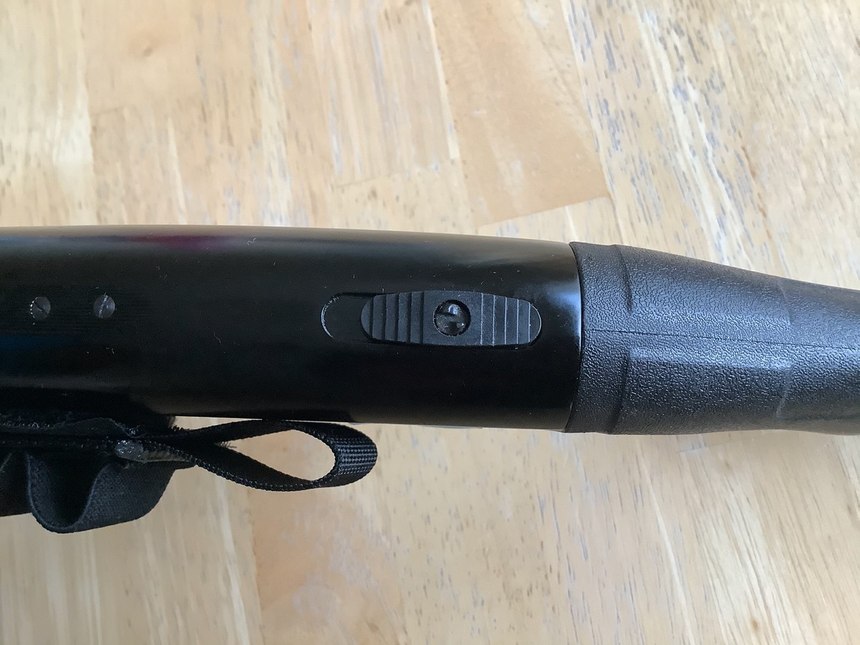
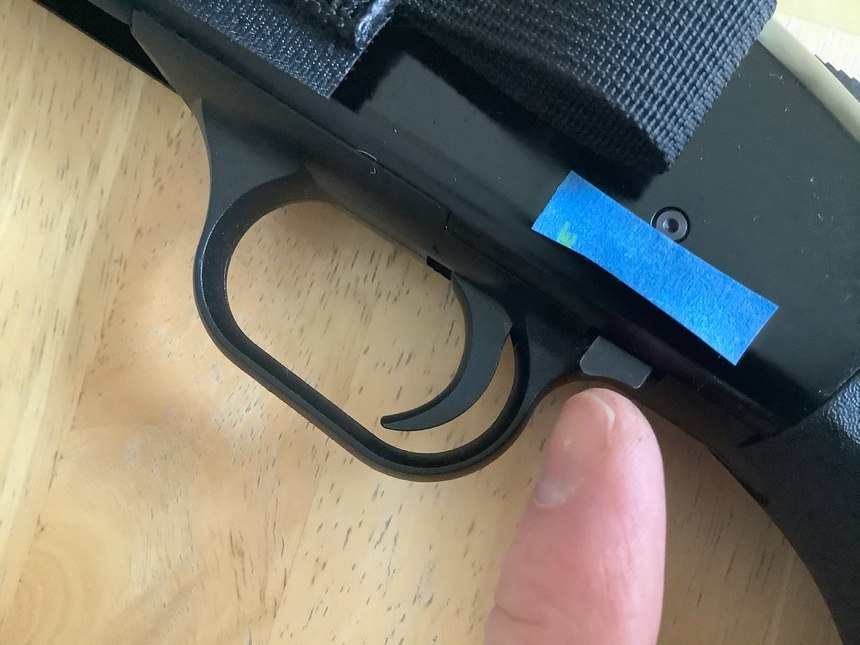
b. Push the button backside the trigger baby-sit to unlock the activity, and slowly pull the forearm all the way to the rear. This will eject a shotshell that is in the sleeping accommodation. Working the activeness slowly will allow you to safely capture the ejected shotshell.
c. If there was another shotshell in the magazine, it will at present be on the lift. Roll the gun onto its right side, to allow this shotshell to autumn out of the ejection port, into your paw.
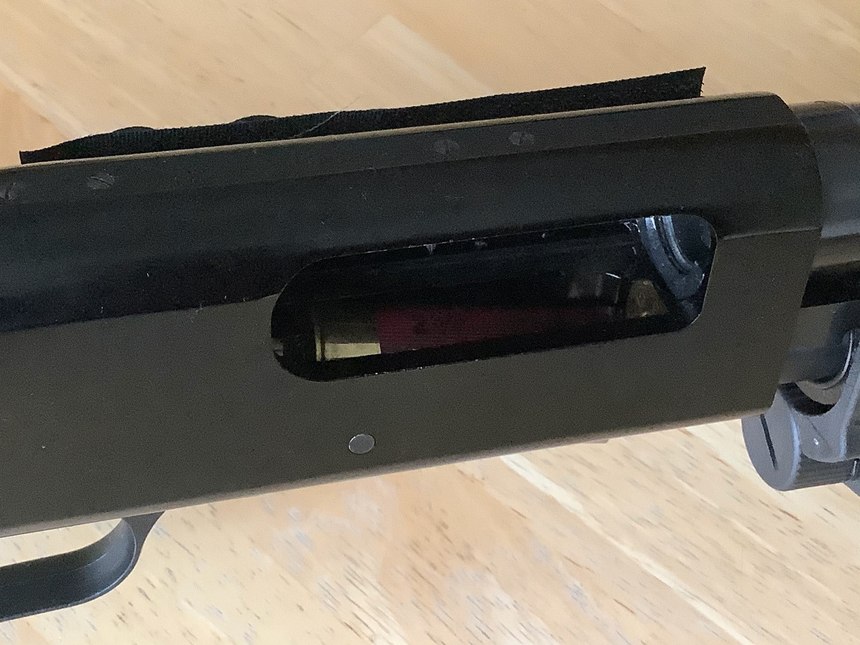
d. Physically and visually cheque the sleeping accommodation and lift to ensure there are no shotshells nowadays, then move the forearm forward and close the action.

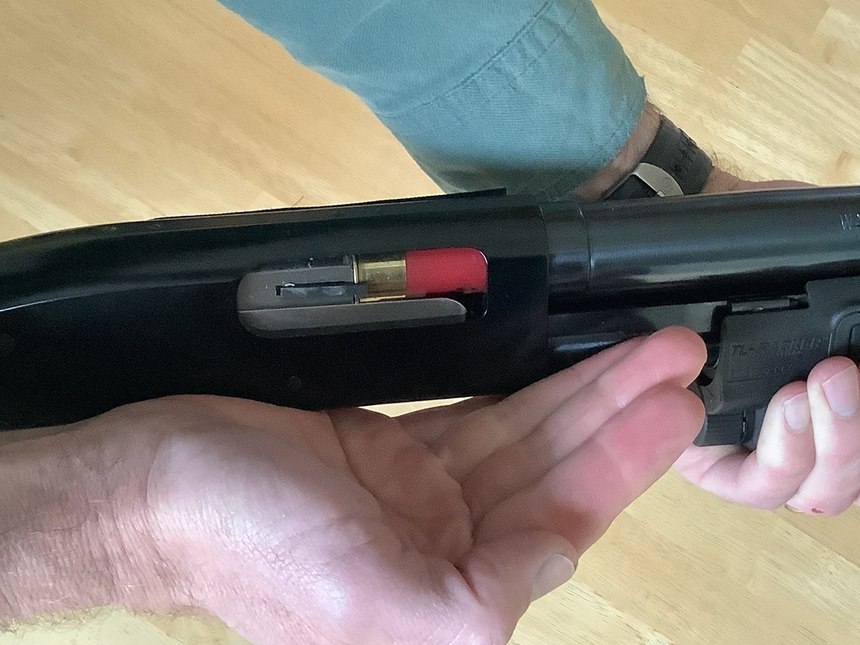
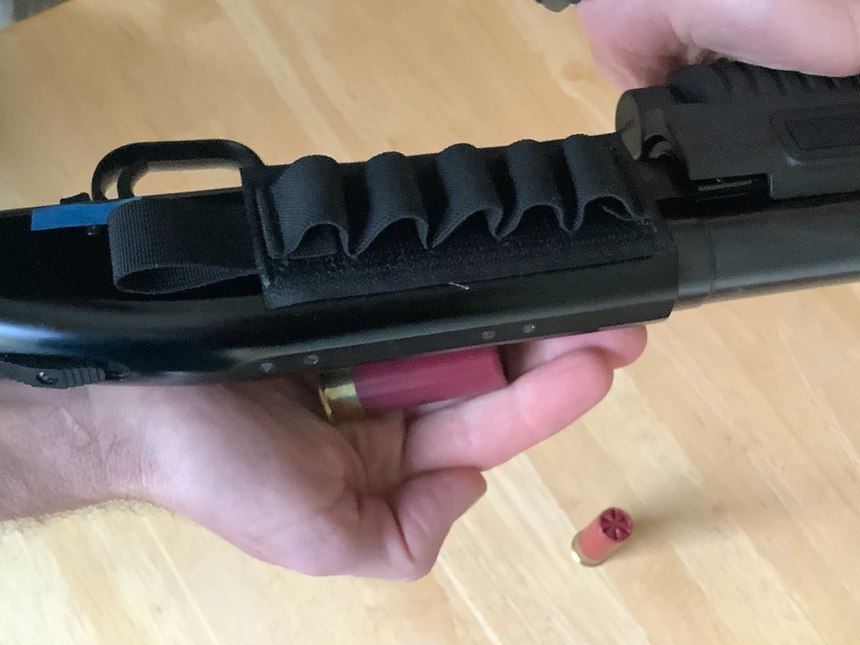
e. Reach into the loading port underneath the gun, and push on the cartridge stop in the left sidewall of the gun with your right thumb. This will allow the base of the first shotshell to partially exit the mag tube. Using slight thumb pressure on the base of the shotshell to help information technology clear the lift, pull it free from the magazine and out the loading port on the lesser of the gun. Repeat this process until all shotshells take been removed from the magazine.


f. Once all shotshells accept been removed, physically and visually check the magazine tube to ensure in that location is no armament left in the magazine.

2. Move the forearm to a middle position where the action is halfway open.
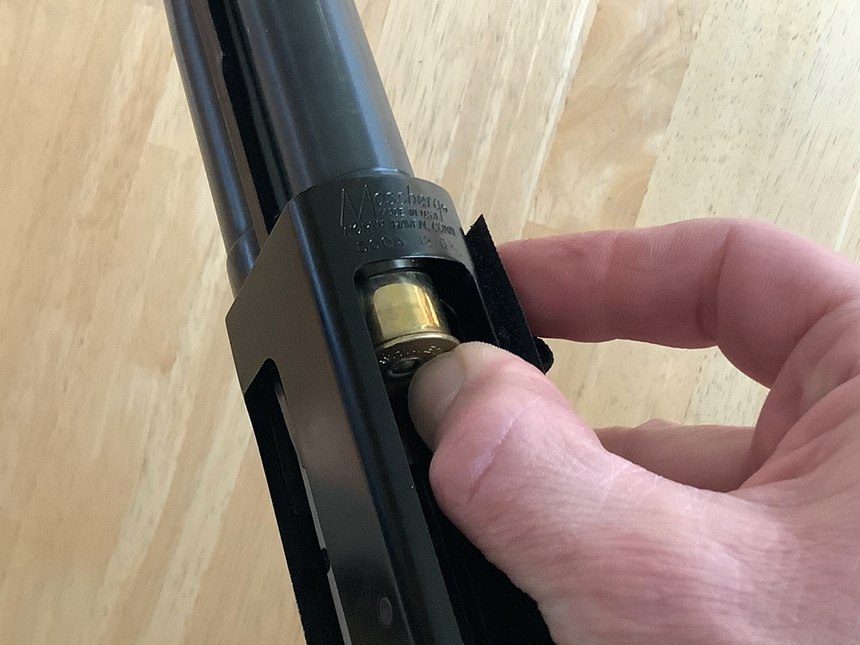
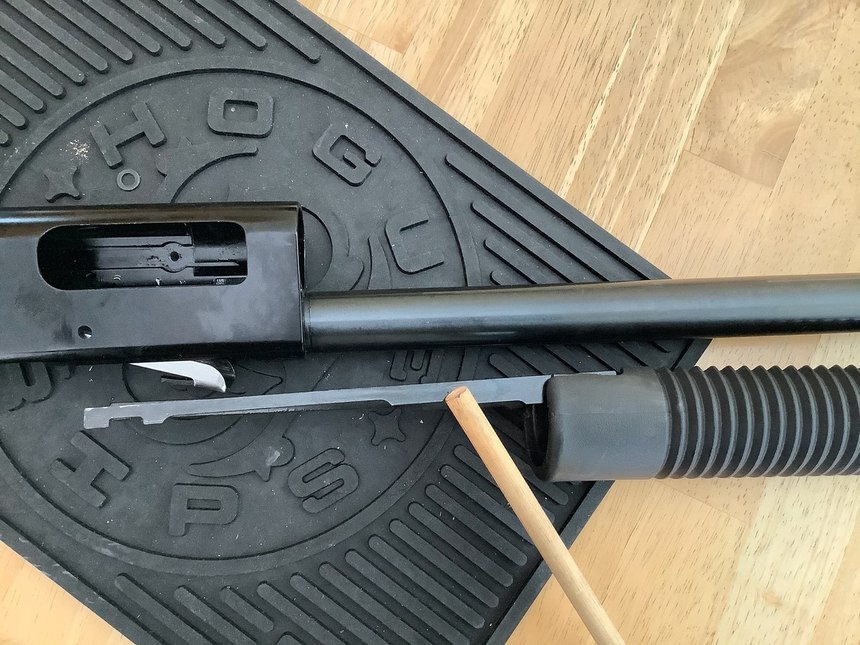
3. Unscrew the takedown screw (or magazine cap, on some models) on the end of the magazine tube, to release the barrel.
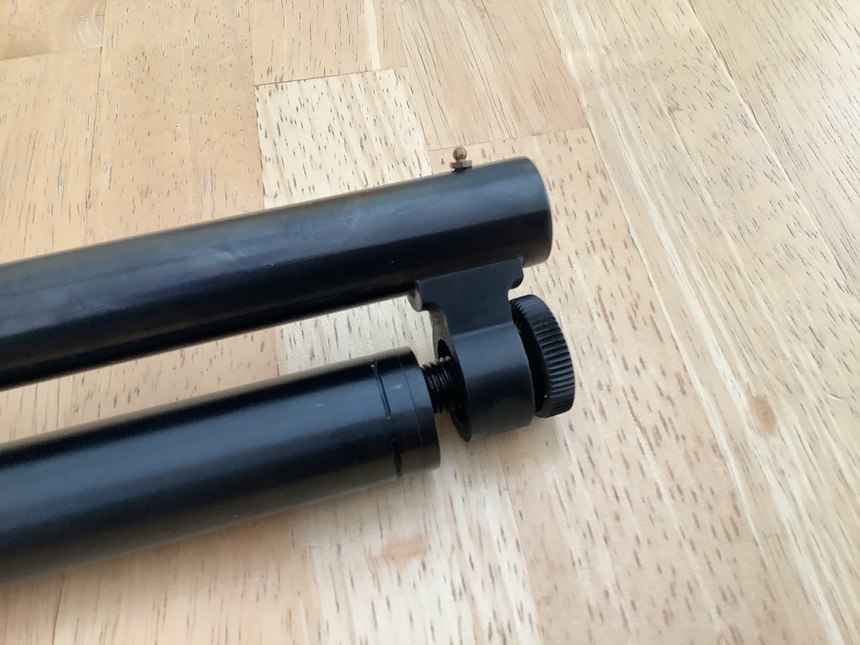
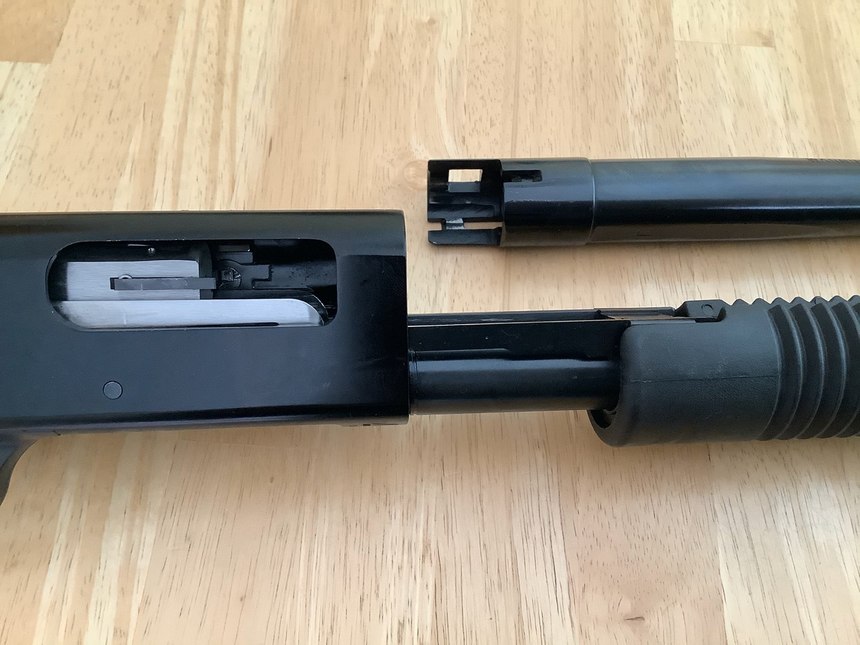
4. Pull the barrel forward, off the gun.
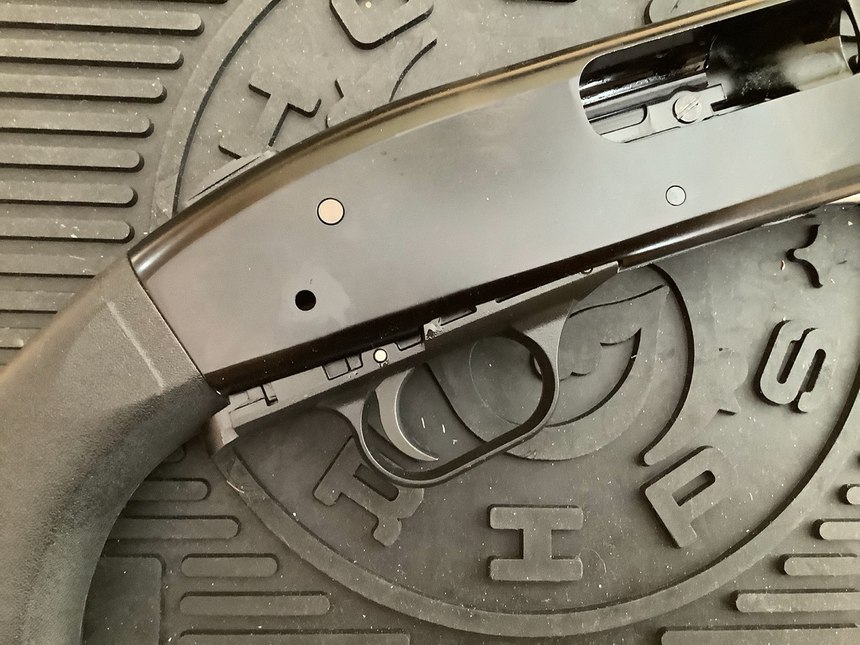
5. With a non-marring tool, push the trigger grouping pin out of the gun from the right side.
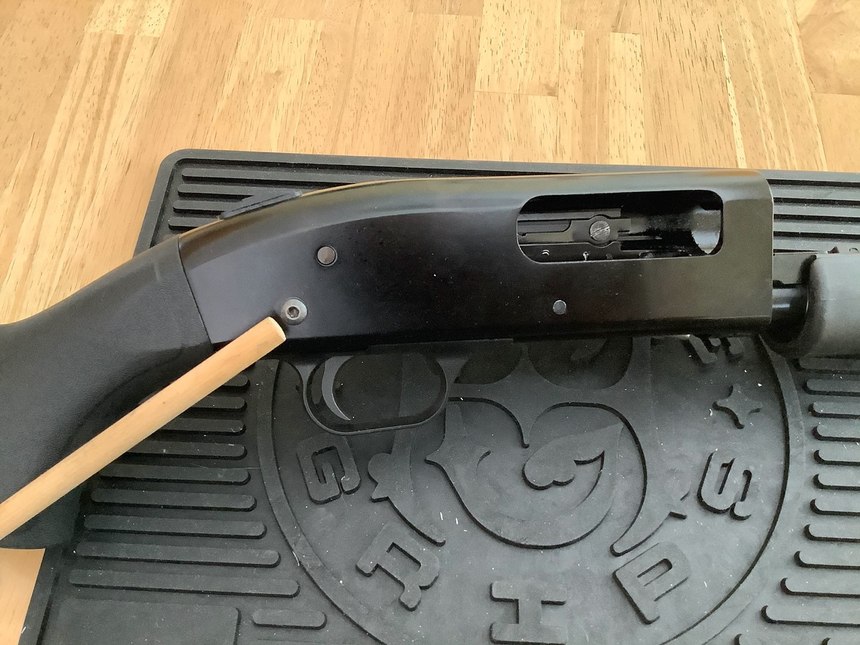
half-dozen. Remove the trigger group from the action past pulling the rear of the trigger guard downwards and aft, simultaneously.
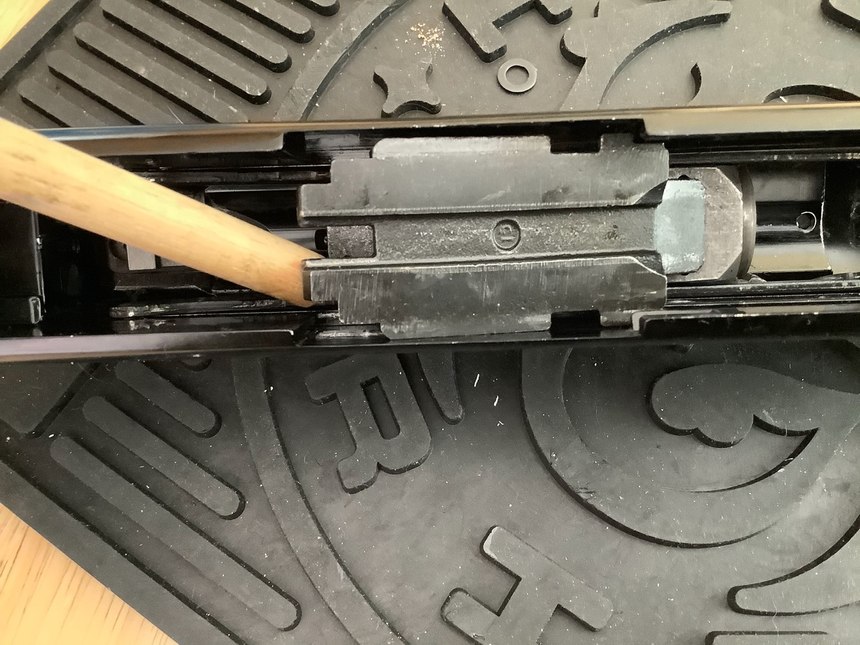
7. Remove the cartridge interceptor from the correct sidewall of the gun.
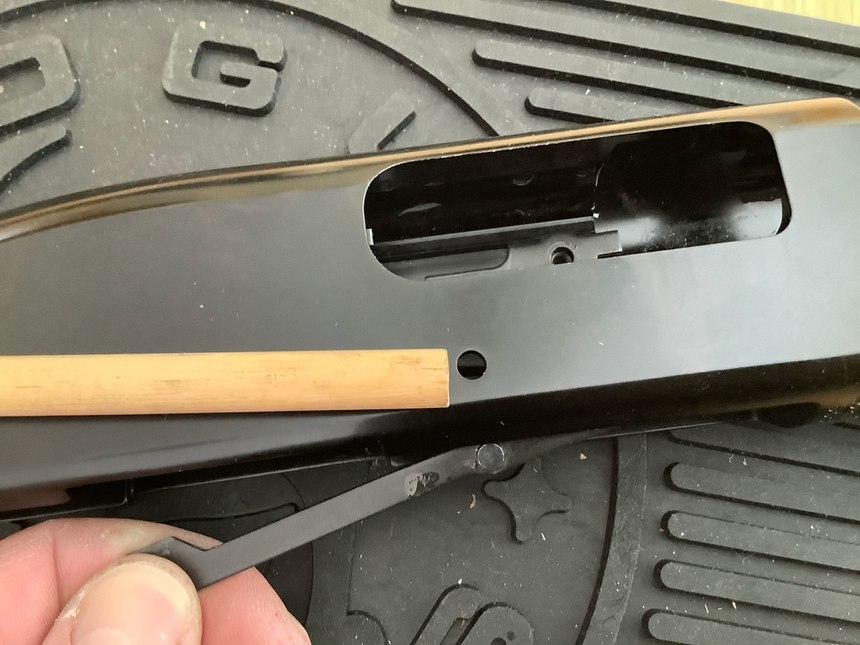
8. Remove the cartridge terminate from the left sidewall of the gun.
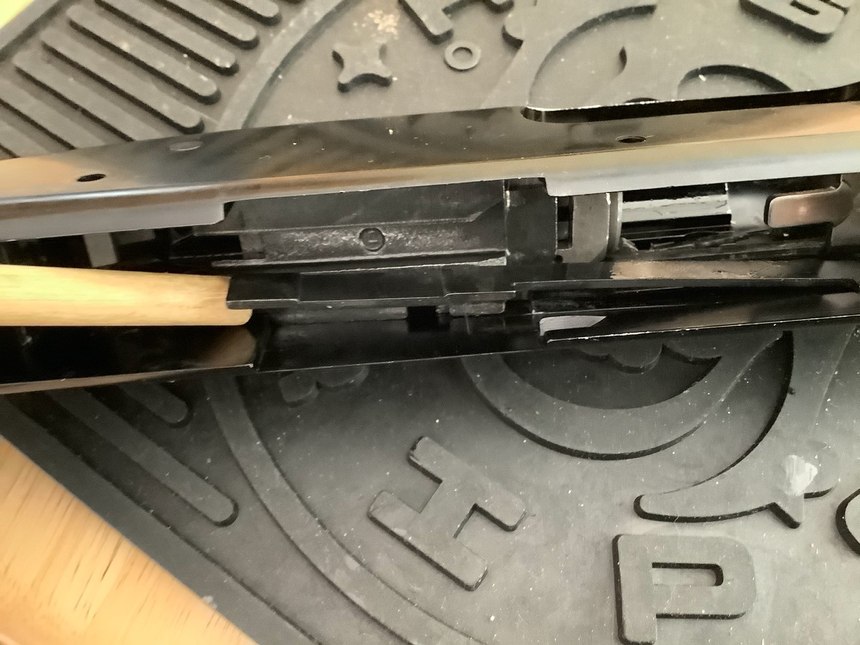
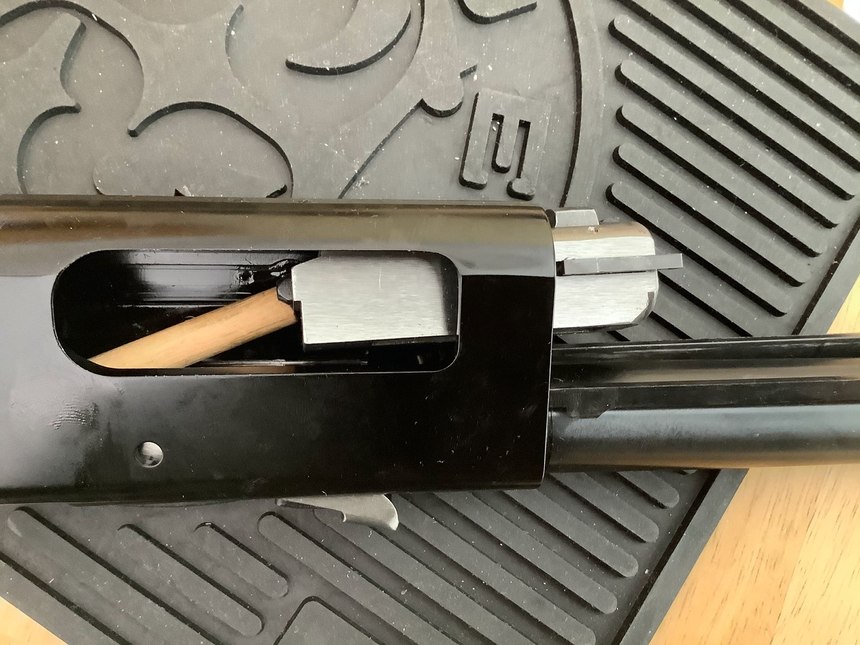
9. After ensuring it'southward lined upward with the relief cuts in the receiver, pull the bolt slide out the bottom of the receiver.
10. Remove the forearm from the gun by pulling it forward, off the receiver.
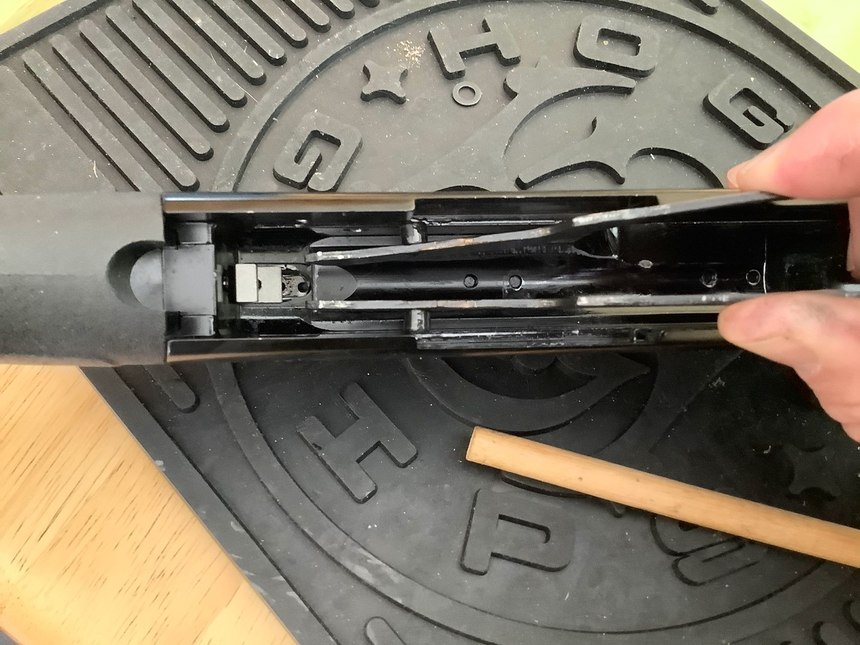
11. Remove the bolt by pushing it forward, out the front of the receiver.
12. Remove the elevator, by pinching the artillery together so that their studs clear the holes in the sides of the receiver, and so lifting it out.
xiii. (If desired) Remove the spiral that holds the ejector in place on the left sidewall, and remove the ejector.
xiv. (If desired) Unscrew the mag tube from the receiver, existence careful as you near the terminate considering it will exist under slight jump pressure. Remove the bound and follower from the magazine tube.
Now that y'all have your shotgun disassembled, y'all tin can properly clean and inspect it, to ensure it volition give you reliable service in the field.
All photos by Mike Wood.
About the author
Mike Wood is the son of a 30-year California Highway Patrolman and the author of "Newhall Shooting: A Tactical Analysis," the highly-acclaimed study of the 1970 California Highway Patrol gunfight in Newhall, California. Mike is an Honor Graduate of the United States Air Force University, a graduate of the United states of america Army Airborne School, and a retired US Air Strength Lieutenant Colonel with over 26 years of service. He'southward a National Rifle Clan (NRA) Law Enforcement Partition-certified firearms instructor, senior editor at RevolverGuy.com, and has been a featured guest on the Excellence In Grooming Academy and American Warrior Society podcasts, equally well as several radio and television programs. He's grateful for the opportunity to serve and learn from the men and women of police enforcement.

Source: https://www.police1.com/police-products/firearms/shotguns/articles/how-to-disassemble-the-mossberg-500590-series-shotgun-for-cleaning-aj2Alg3HaeD7RsQs/
Posted by: hansenglin1947.blogspot.com
0 Response to "How To Clean Mossberg 500 Magazine Tube"
Post a Comment